
It was a relief when I was able to lift both ends of the hull off the mold. All that packing tape and pieces of plastic sheet had done their job. First step was to hoist the boat up in the air so the mold could be pulled out from under it and disassembled. If anyone reading this wants to build a Classic Derwent Skiff the mold is for sale.


There are fore and aft buoyancy compartments, basically a bulkhead with a deck on top. The bulkhead is 4mm ply with doublers at the sides and a strip of 12mm square timber across the top. They are trimmed to fit and then glued in place. Here is the aft one with paver clamps and two horizontal supports to stop it falling over.

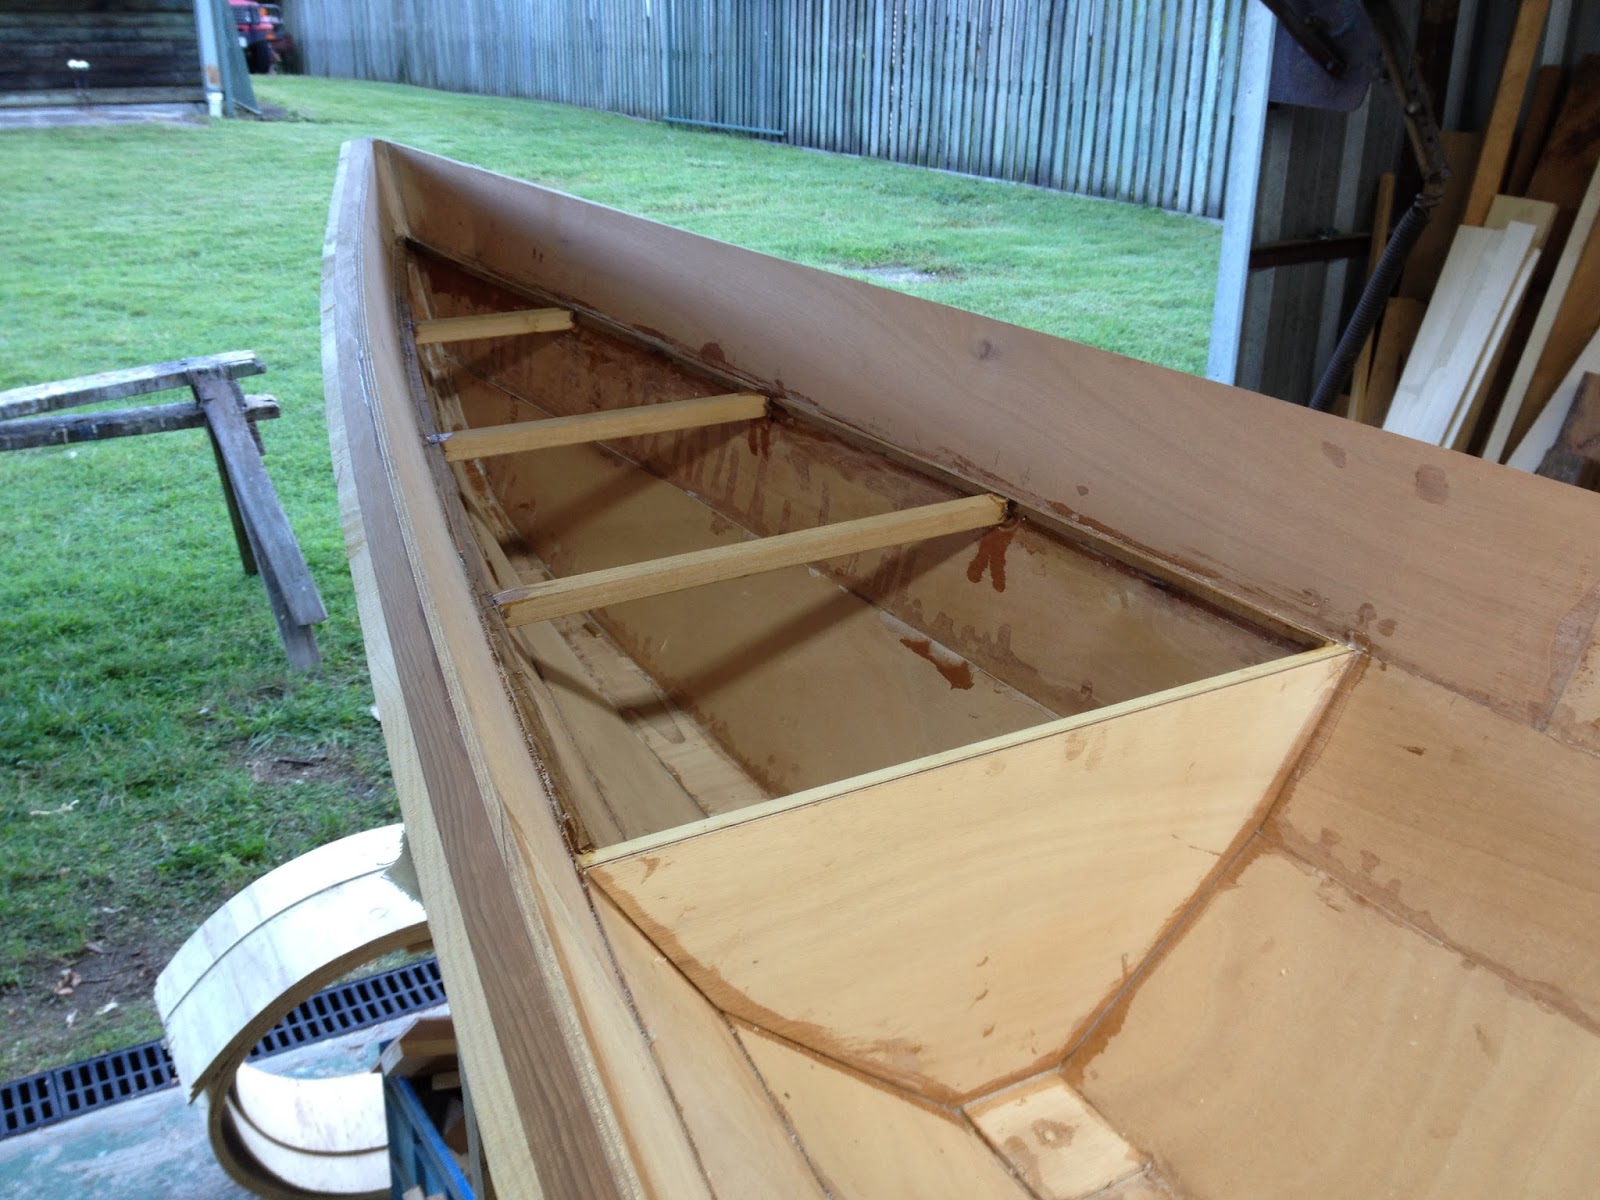
The edges of the deck fit on the edge of the middles plank which, due to the angle of the planks is very narrow so two 10mm square strips were added to provide a better gluing surface.

Some cross supports are needed and these can be sen below. Cutting these to length and shaping the ends to fit around the 10mm square stuff was difficult - thank goodness for the gap filling properties of thickened epoxy!

The same was done for the forward compartment.
There are two inwales about 1250mm long. These provide two supporting points for the outrigger arms as well as adding some stiffness to the centre of the boat. The inwales are laminated in the boat from 3 pieces of Western Red Cedar. Here the laminations are being glued over plastic strips and newspare to catch any drips.

The inwales are then clamped in place and the top edge planed down to an angle to match the underside of the outrigger arm. This is a process of plane a bit off and see how it fits until the whole length id done. The underside of the inwale is then planed on the bench; a tricky job because it is hard to hold and banana shaped. Once it is done the ends are tapered and the inwale glued into the boat.


No comments:
Post a Comment